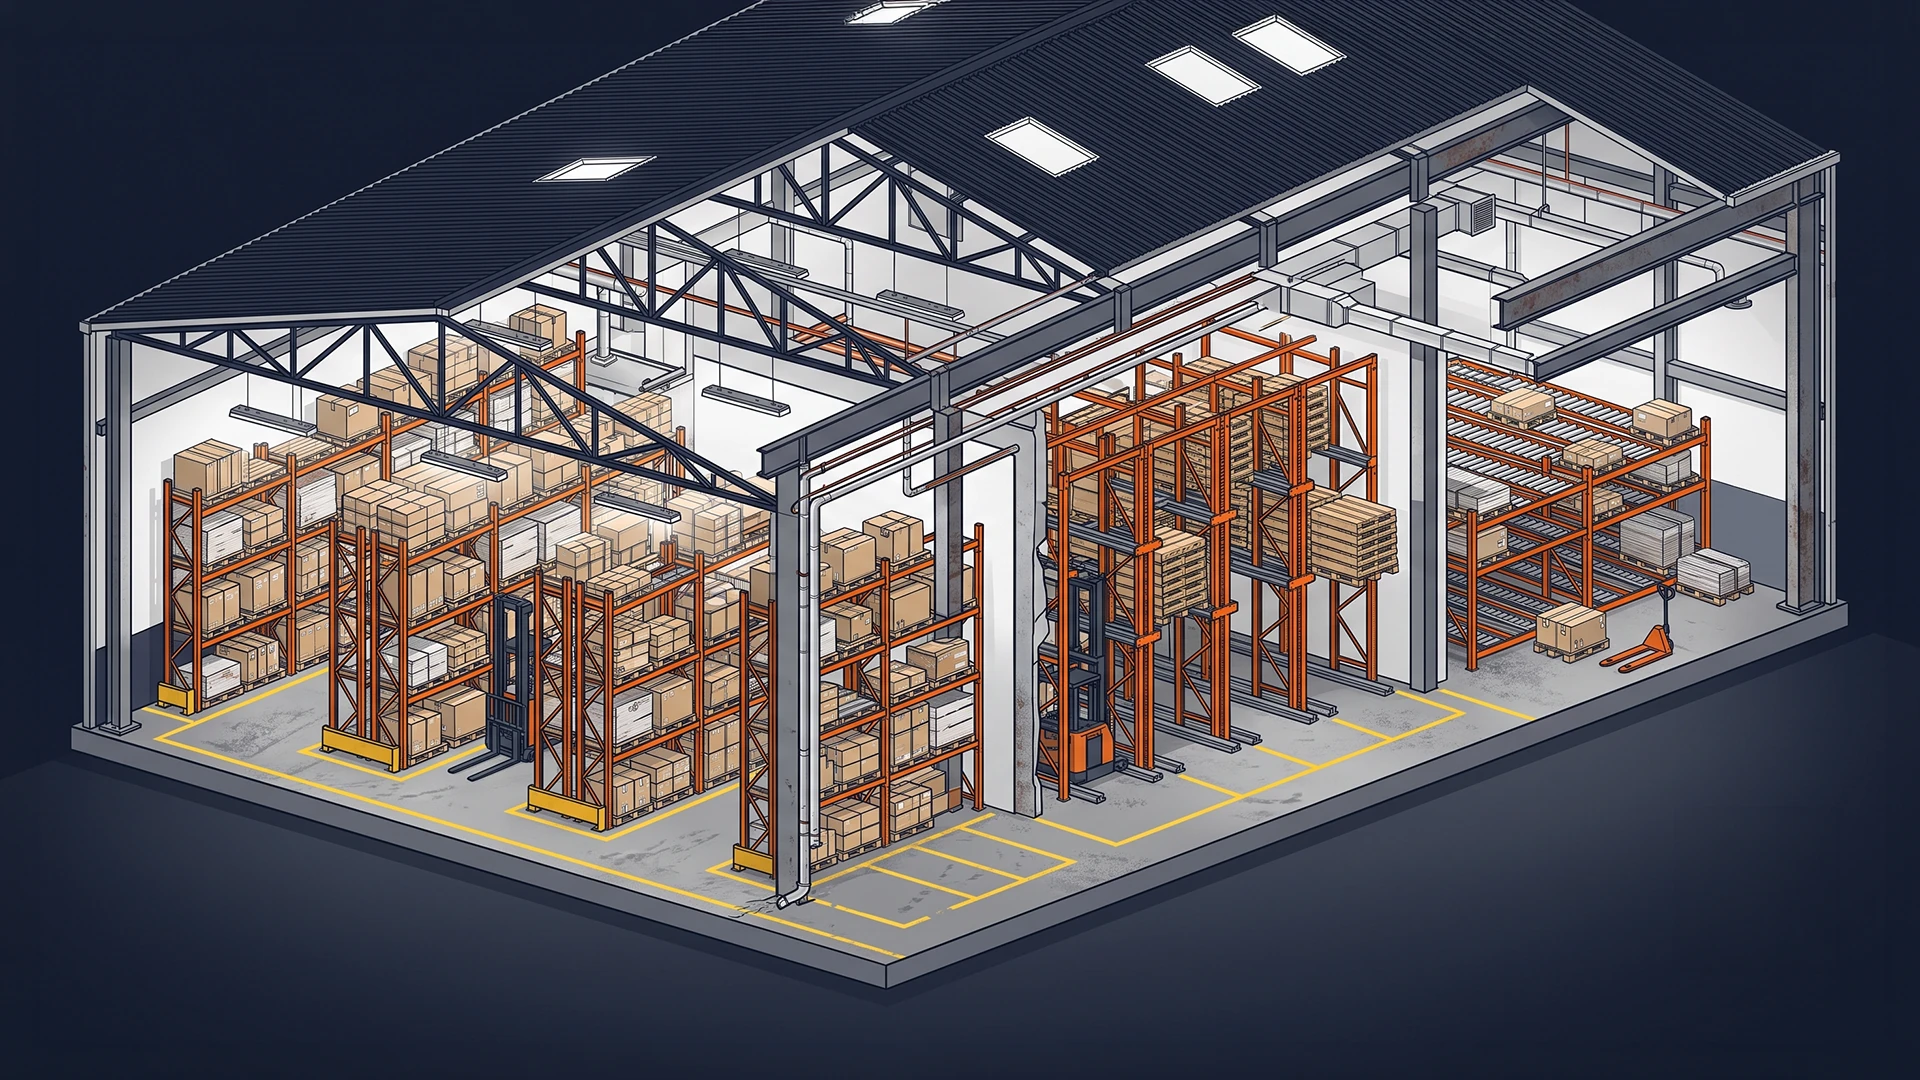
A 10,000 sq. ft. warehouse using standard counterbalance forklift aisles with selective racking stores roughly 350 to 450 pallet positions. The same footprint, redesigned with reach truck aisles and optimized beam heights, can yield 550 to 700 positions — a 40–55% density gain without adding a single square foot of building. Pallet warehouse storage density is not about cramming more racks into the same space; it is about engineering the relationship between rack configuration, aisle width, beam heights, and vertical clearance to extract maximum positions from every cubic meter.
This guide breaks down the calculation methodology, compares rack system types by density performance, and identifies the layout decisions that most dramatically impact storage capacity.
The Storage Density Formula
Warehouse storage efficiency is measured in two primary dimensions:
1. Floor Utilization (2D) — Area Efficiency
Measures pallet storage positions relative to gross warehouse floor area:
Typical benchmarks:
- Selective racking with counterbalance aisles: 30–35% floor utilization
- Selective racking with reach truck aisles: 40–48% floor utilization
- Drive-in racking: 60–75% floor utilization
- VNA with turret trucks: 50–55% floor utilization
2. Cubic Utilization (3D) — Volume Efficiency
Measures three-dimensional volumetric storage efficiency across warehouse clear height:
Most warehouses achieve only 22–28% cubic utilization. The primary culprits: unused vertical space above the top beam level, excessive aisle widths, and inconsistent pallet heights leaving dead air between beam levels.
Rack System Comparison: Density vs. Selectivity
Every pallet warehouse storage system trades off between two competing priorities — density (maximizing positions) and selectivity (accessing any individual pallet without moving others). There is no system that maximizes both.
| Rack Type | Density Rating | Selectivity | Best Application | Pallet Positions per 1,000 sq. m |
|---|---|---|---|---|
| Selective Pallet Racking | Medium | 100% (every pallet directly accessible) | FMCG distribution, high-SKU environments | 90 – 160 |
| Double-Deep Racking | Medium-High | 50% (front pallet blocks rear) | Moderate SKU count with 4+ pallets/SKU | 120 – 190 |
| Drive-In / Drive-Through | High | Low (LIFO — last in, first out) | Seasonal buffer stock, cold storage, single-SKU bulk | 160 – 240 |
| Gravity Flow (Pallet Live) | High | FIFO (first in, first out) | Date-sensitive goods, pharmaceuticals, food | 150 – 220 |
| Push-Back Racking | High | LIFO (2–5 deep lanes) | Medium SKU count, batch replenishment | 140 – 210 |
| Mobile Racking (Movable Base) | Very High | High (aisles open on demand) | Archival, cold storage, high-value inventory | 200 – 300 |
> Key insight: Switching from selective racking to drive-in racking can double your positions — but you lose direct access to individual pallets. This is acceptable for single-SKU bulk storage but catastrophic for a 3PL handling 500+ SKUs with random-access picking.
5 Layout Decisions That Maximize Density
1. Optimize beam heights to match actual pallet heights
Most facilities set uniform beam heights at 1,500 mm or 1,800 mm clear between beams. If your actual loaded pallet height varies between 1,100 mm and 1,400 mm, you are wasting 200–400 mm of dead air per level. Across 4 beam levels and 200 bays, that dead air equals 50+ lost pallet positions — the equivalent of an entire extra row of racking.
Solution: Audit your top 20 SKUs by pallet height. Configure beam levels to match actual pallet heights + 150 mm clearance (100 mm operating tolerance + 50 mm sprinkler flue space).
2. Maximize vertical reach — use every meter of clear height
A warehouse with 10 m clear height using only 4 beam levels to 6 m wastes 40% of its cubic volume. Every additional beam level adds roughly 20–25% more positions for negligible incremental racking cost (uprights and cross-bracing are the fixed cost; additional beams and wire decking are incremental).
Constraint: Your MHE equipment determines maximum lift height. Standard reach trucks lift to 8–10 m; VNA turret trucks reach 12–14 m.
3. Reduce aisle widths to the minimum rated for your MHE fleet
This is the single highest-impact lever. Refer to the Warehouse Racking Aisle Width Guide for exact clearances. Every 200 mm reduction in aisle width across 30 aisles adds approximately one full racking row.
4. Use mixed racking zones for mixed inventory profiles
Rather than committing the entire warehouse to one rack type, zone your layout:
- Zone A (High-velocity, many SKUs): Selective racking with reach truck aisles — maximizes pick rate
- Zone B (Bulk reserve, few SKUs): Drive-in racking or gravity flow — maximizes density
- Zone C (Date-sensitive, FIFO required): Gravity pallet flow racks with angled roller tracks — enforces stock rotation while maintaining density
Sameta's Sorting FIFO Stations use angled gravity Placon roller tracks where cartons are loaded from the replenish side and slide forward by gravity to the front picking face, ensuring strict first-in, first-out rotation with 150–250 kg capacity per lane.
5. Plan for pallet flow direction and dock proximity
Place high-turnover SKUs closest to dock doors. Every meter a forklift travels between the dock and a pick face adds cycle time. In a 10,000 sq. ft. warehouse processing 200+ pallets/day, reducing average travel distance by 15 meters saves roughly 45 minutes of forklift runtime per shift.
Calculating Your Warehouse Capacity: A Worked Example
Given:
- Warehouse footprint: 2,500 sq. m (approx. 27,000 sq. ft.)
- Clear height: 9 m
- Standard Euro pallets: 1200 × 800 × 1400 mm (loaded)
- MHE: Stand-up reach truck (minimum aisle: 2,800 mm)
Calculation:
| Parameter | Value |
|---|---|
| Beam levels (with 150 mm clearance per level) | 5 levels × 1,550 mm = 7,750 mm; fits within 9 m clear height ✓ |
| Bay configuration | 3 pallets wide per bay (3 × 800 mm + 200 mm clearance = 2,600 mm bay opening) |
| Number of racking rows (80 m building depth ÷ (rack depth 1,200 mm × 2 rows back-to-back + aisle 2,800 mm)) | 80 m ÷ 5,200 mm ≈ 15 row pairs |
| Bays per row (30 m building width ÷ 2,600 mm bay width) | ~11 bays per row |
| Total pallet positions | 15 pairs × 2 rows × 11 bays × 3 pallets/bay × 5 levels = 4,950 positions |
- Floor utilization: ~50% (rack footprint vs. gross floor area)
- Cubic utilization: ~35% (a strong result for selective racking)
Frequently Asked Questions
1. What is a good benchmark for pallet positions per square meter?
For selective racking with reach truck aisles, target 1.3–1.6 positions per sq. m of gross floor area. Drive-in racking should yield 2.0–2.5 positions per sq. m. Anything below 1.0 position/sq. m in a selective layout indicates aisle width or beam height inefficiency.
2. Does increasing storage density affect warehouse safety?
Narrower aisles require more precise MHE operations and may require guide-rail systems. All density gains must comply with fire codes (NFPA 13 / NBC India) for sprinkler flue spaces and egress paths. Heavy-duty rack systems rated up to 3,000 kg/level with floor-anchored footplates maintain structural integrity under maximum loading.
3. How do I choose between drive-in racking and gravity flow racking?
Drive-in is LIFO (last in, first out) — suitable for non-date-sensitive bulk goods. Gravity flow is FIFO (first in, first out) — mandatory for perishables, pharmaceuticals, and any inventory with expiry dates. If stock rotation matters, choose flow racking.
Engineer Your Storage Density With Sameta
Whether you need heavy-duty structural pallet racking rated to 3,000 kg/level, gravity flow FIFO stations, or modular slotted angle storage, Sameta's warehouse racking team delivers complete layout engineering, CNC fabrication, powder coating, and turnkey installation — from concept to dock.